その代わり、Web ブラウザを使用して同等の操作を行う。
ここでは、例として ESXi のシャットダウンを実施する。
以下は Firefox 73.0 の実行画面。
4-1. Web ブラウザから ESXi へ接続する。
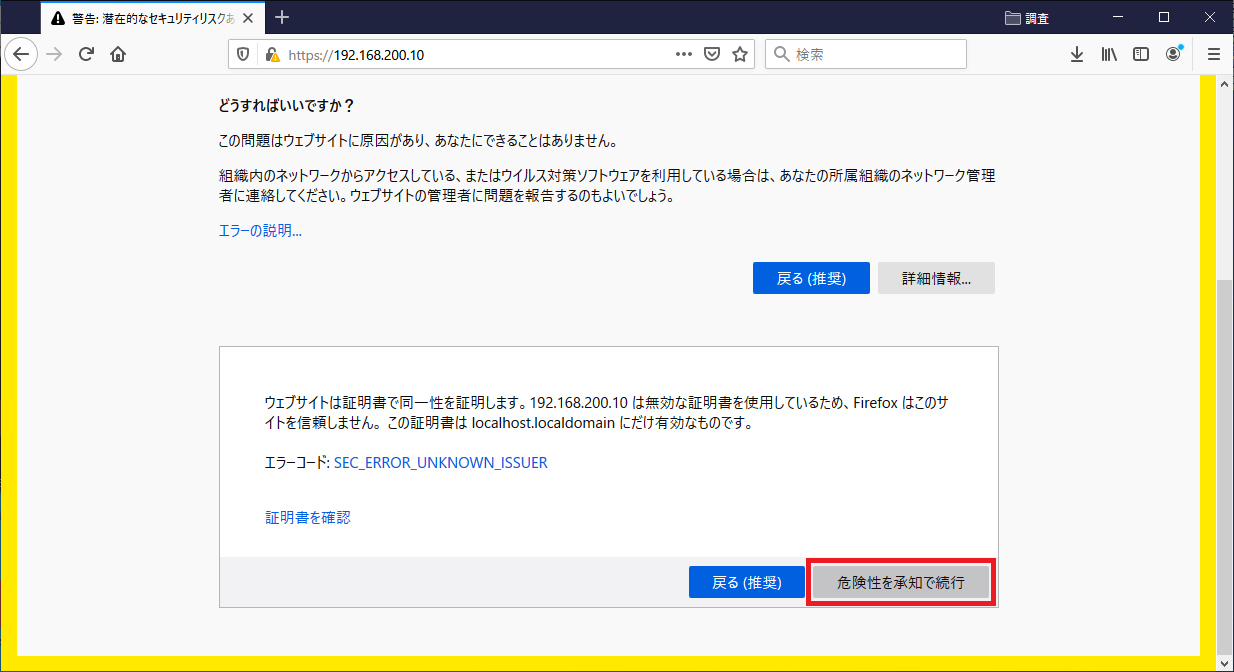
Web ブラウザのアドレス欄に https://192.168.200.10/ (ESXi に設定した IP アドレス) を指定し、接続する。4-2. WebClient のログイン画面
最初は無効な証明書が設定されているのでエラーが表示される。
ボタンをクリックする。
↓

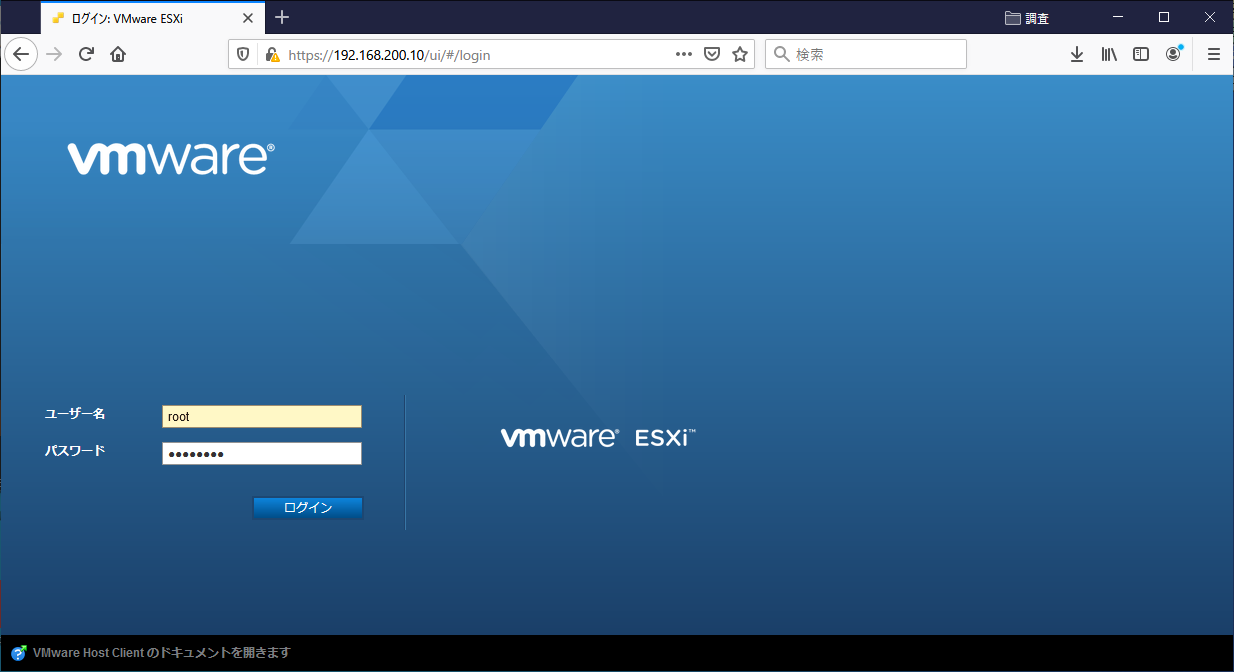
下記項目を記入し、 ボタンをクリックする。4-3. シャットダウンするために、メンテナンスモードへ切り替え
ユーザー名 root - パスワード pASS00== ESXi に設定したパスワード
↓
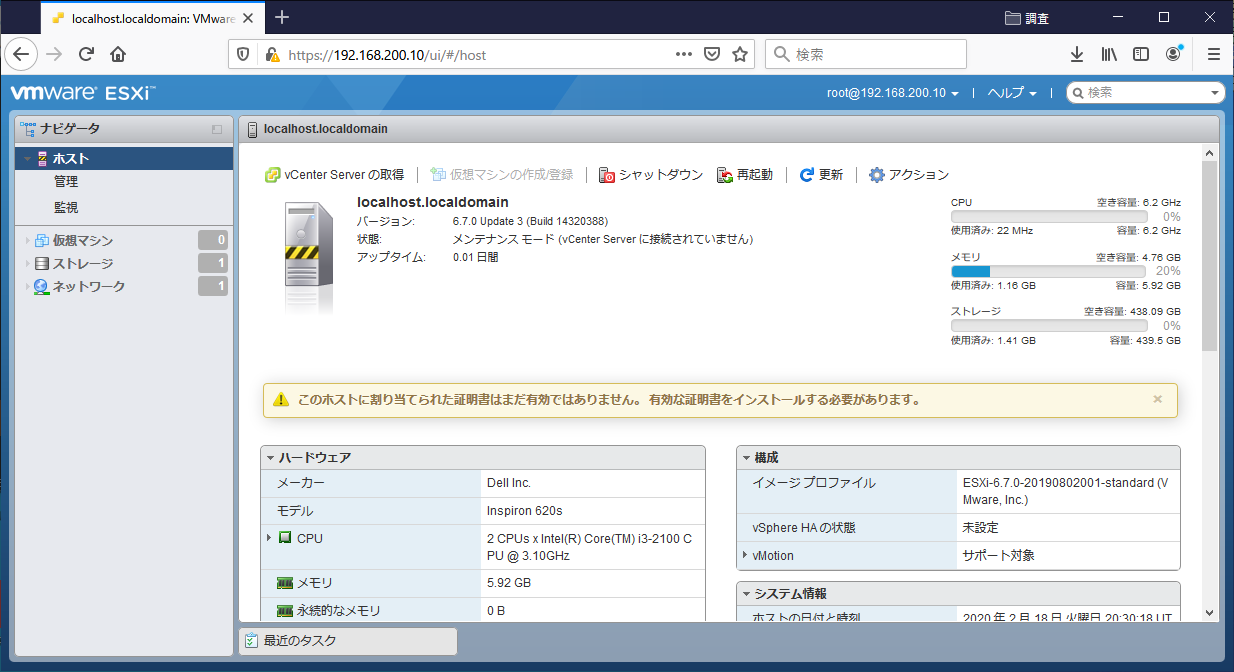
ESXi にログインした。(「状態」が「正常」になっている)
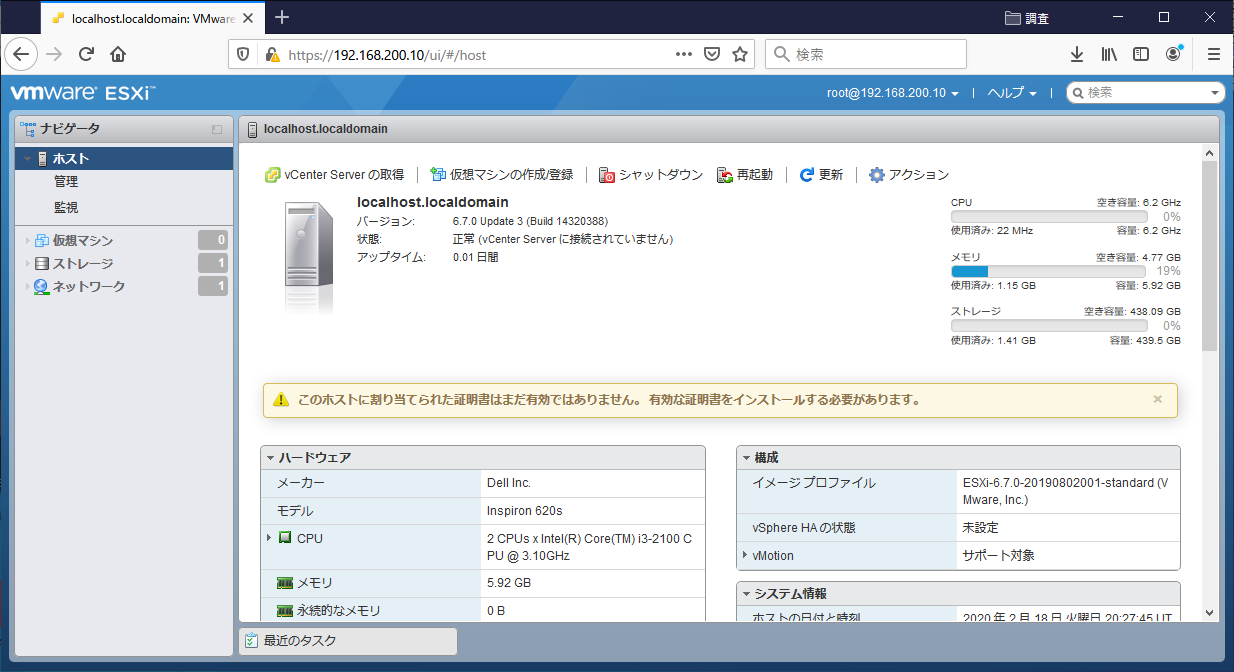
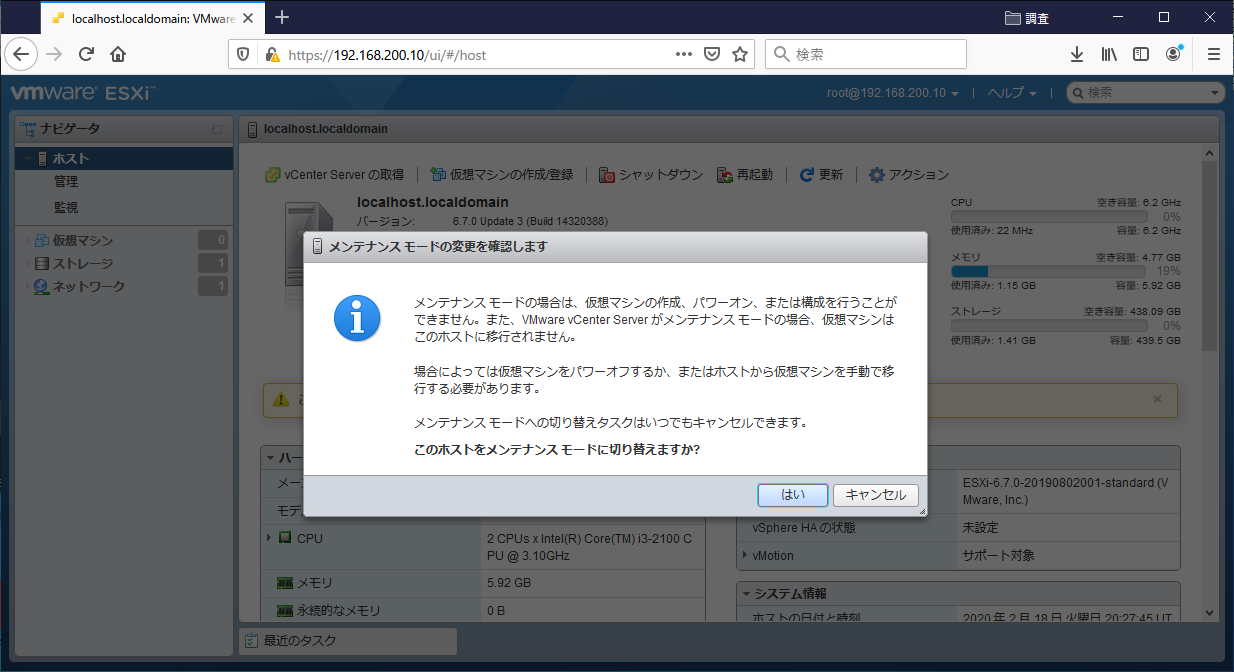
メニューの「アクション」から「メンテナンスモードへの切り替え」を選択する。4-4. シャットダウンの準備
↓
確認画面。 ボタンをクリックする。
↓
ESXi がメンテナンスモードへ変更された。(「状態」が「メンテナンスモード」になっている)

対象 ESXi サーバへ ping を実施し、応答があることを確認しておく。4-5. シャットダウンの実施
PS C:\> ping 192.168.200.10
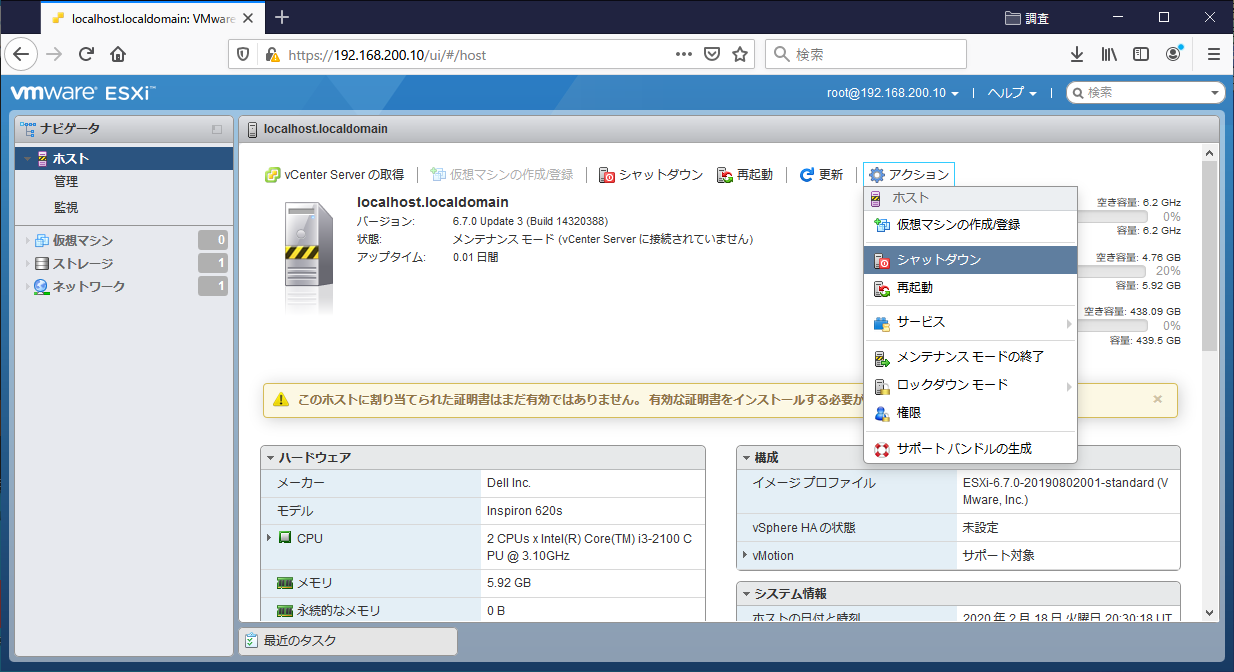
メニューの「アクション」から「シャットダウン」を選択する。4-6. シャットダウンの確認
↓
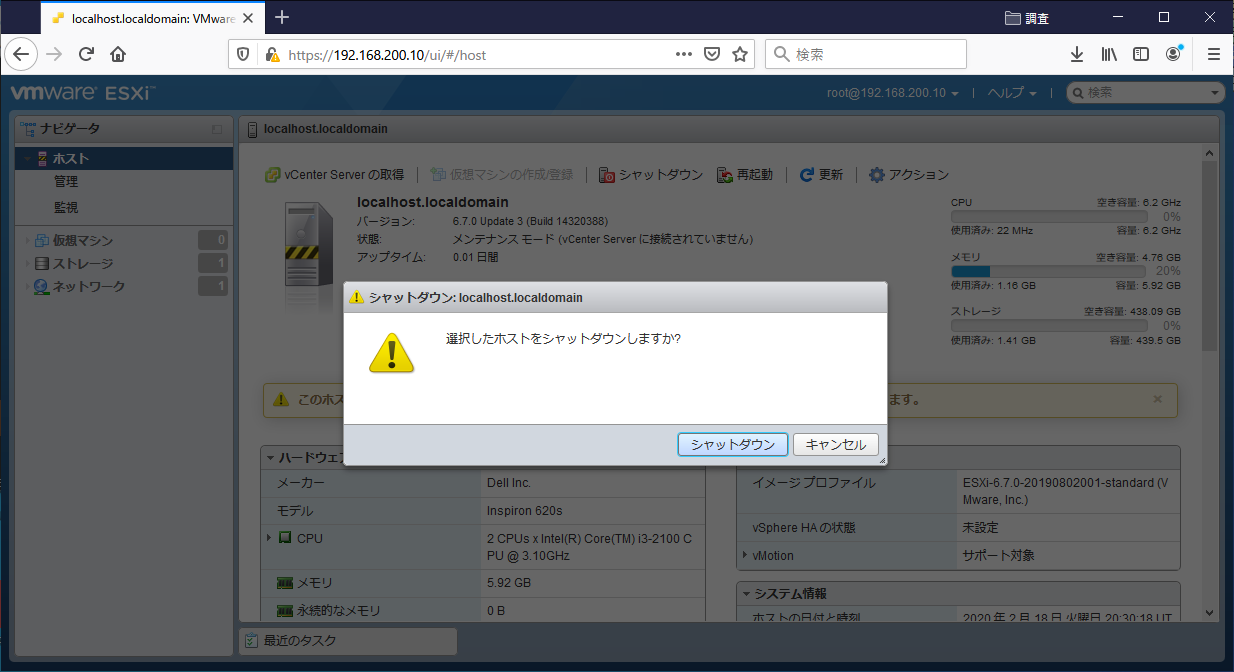
確認画面。 ボタンをクリックする。
↓
ログイン画面に戻る。ESXi の電源が切れても Web ブラウザの画面は変化しない。

対象 ESXi サーバへ ping を実施し、応答がないことを確認する。
PS C:\> ping 192.168.200.10