~/$ which django-admin2-2. プロジェクトを作成する。
~/$ django-admin startproject hello2-3. 作成したプロジェクトのディレクトリツリーを確認する。
~/$ mkdir ~/hello/templates/
~/$ LANG=c tree ~/hello/2-4. 作成したプロジェクトの初期設定をする。
~/$ cd ~/hello/2-5. shell_plus の動作確認をする。
~/hello/$ vim ~/hello/hello/settings.py
 (省略)
ALLOWED_HOSTS = ['*']   # 全インタフェースからのリクエストを受け付ける。
 (省略)
INSTALLED_APPS = [
     (省略)
    'django_extensions',    # manage.py の shell_plus を使用可能にする。
]
 (省略)
TIME_ZONE = 'Asia/Tokyo'    # タイムゾーンを日本にする。(内部形式は変化しない。(UTC のまま)
 (省略)
~/hello/$ python3 ./manage.py shell_plus -c "for item in 'SHELL_PLUS_PRE_IMPORTS','SHELL_PLUS_IMPORTS','SHELL_PLUS_POST_IMPORTS': print(item + ' ' + str(getattr(settings, item, {})))"2-6. プロジェクトの動作確認をする。shell_plus でインポートされるモジュールを確認。
# Shell Plus Model Imports
from django.contrib.admin.models import LogEntry
from django.contrib.auth.models import Group, Permission, User
from django.contrib.contenttypes.models import ContentType
from django.contrib.sessions.models import Session
# Shell Plus Django Imports
from django.core.cache import cache
from django.conf import settings
from django.contrib.auth import get_user_model
from django.db import transaction
from django.db.models import Avg, Case, Count, F, Max, Min, Prefetch, Q, Sum, When
from django.utils import timezone
from django.urls import reverse
from django.db.models import Exists, OuterRef, Subquery
SHELL_PLUS_PRE_IMPORTS {}
SHELL_PLUS_IMPORTS {}
SHELL_PLUS_POST_IMPORTS {}
2-6-1. Django 付属のテストサーバ機能を起動する。
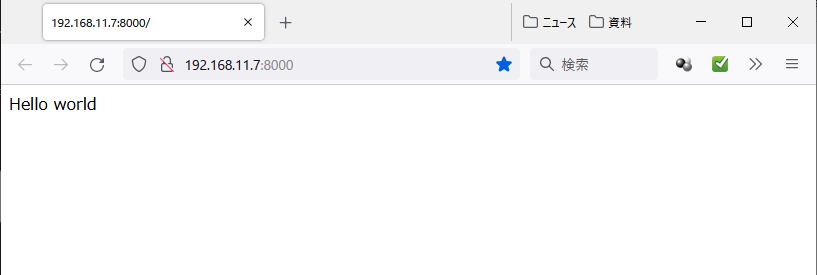
~/hello/$ python3 ./manage.py runserver 0:80002-6-2. ブラウザを起動し、テストサーバにアクセスする。
「0:8000」は、当該サーバの全 IP アドレスのポート 8000 番で待ち受ける指定。
停止する場合は Ctrl - C を入力する。
「適用されていない移行がある」と警告されている。
これは、後述「3. データベースの初期化」を実施すると警告されなくなる。
それまで admin, auth, contenttypes, sessions は使用できない。
Windows10 の PowerShell から Firefox を起動する例2-6-3. テストサーバ実行後のプロジェクトのディレクトリツリーを確認する。
>_ Windows PowerShell
Firefox の表示
~/hello/$ LANG=c tree ~/hello/
(*3)db.sqlite3 は Django によって作られる。
(*4)__pycache__ (と *.pyc) が作られるのは Python が持っている機能による。